Adding Bump Maps
Step 01
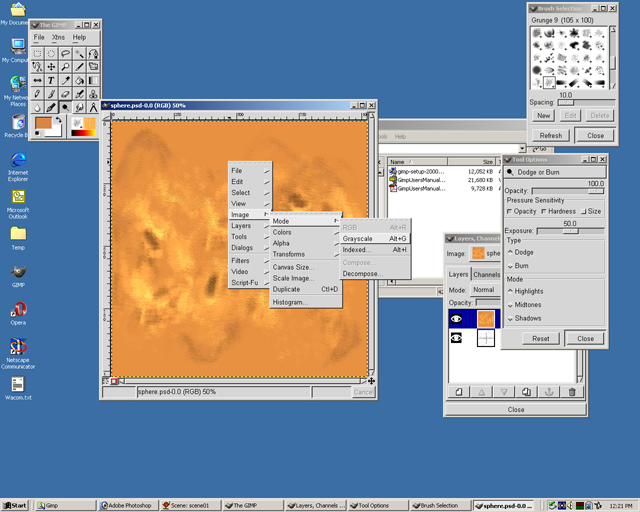
A bump map is an added texture to a model that makes it look “bumpy” More specifically the amount of contrast(light and dark) in an bump map determines the depth of the final texture. To make a bump map go into Gimp and open the previous texture used. Right click on the image. Select image, mode, then grayscale.
Step 02
This changes the image to grayscale Repeat the process but change it back to RGB(Anim8or crashes on grayscale files.) Save file as (whatever you wan)bump.jpg. For sample purposes the name will be called spherebump.jpg.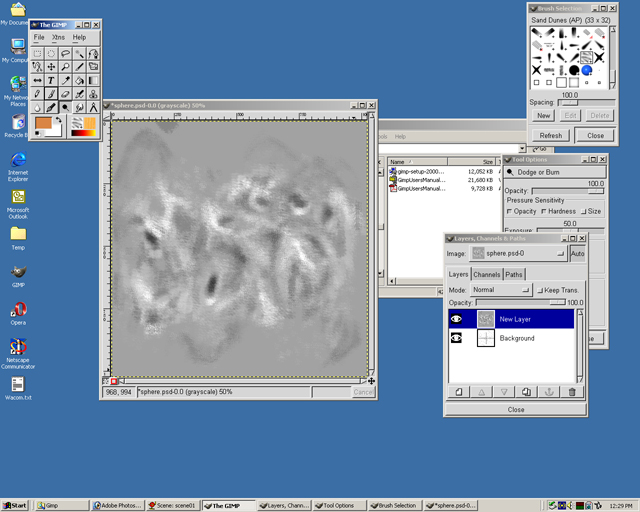
Step 03
Go into Anim8or and open the sphere file. With the material selected go into the texture used by double clicking on the sphere in the material bar. This will open the material editor. Select the texture box and a list of words such as Ambient, Diffuse, Specular, and Bumpmap will appear. Each word has a numerical value next to it. This shows the amount of opacity the used texture will have. Change the bumpmap value from 30(30%) to 100. This will make it more visible. Select the “...” next to the bump map.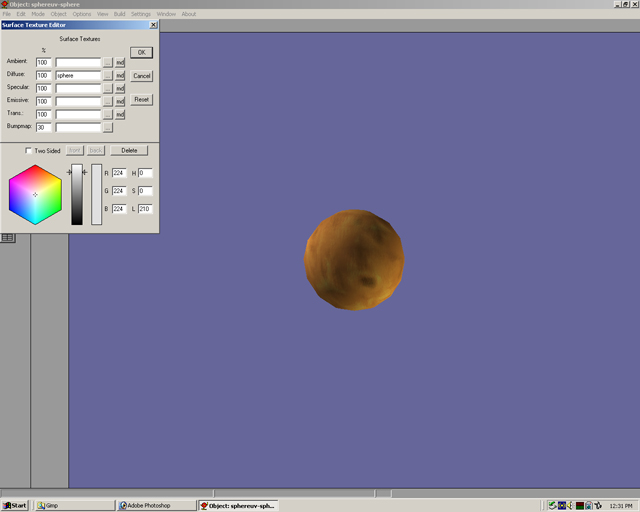
Step 04
Select load texture, the open spherebump.jpg. As before it may take a little while to load.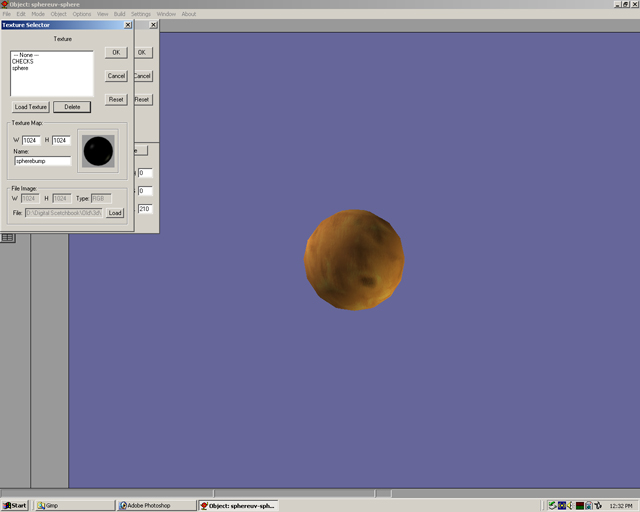
Step 05
Once spherebump.jpg is highlighted select ok until all the dialog boxes are gone.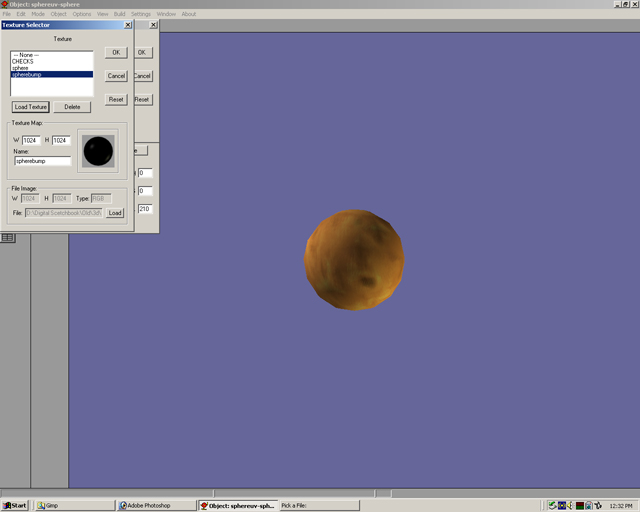
Step 06
Once the sphere is selected with the white box, press apply.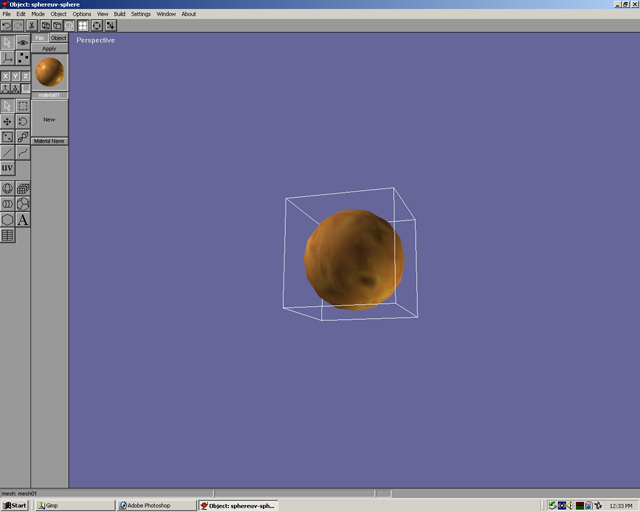
Step 07
Change to scene mode and move the perspective viewpoint to an area that looks good for rendering. Render the file to see the bumpmap.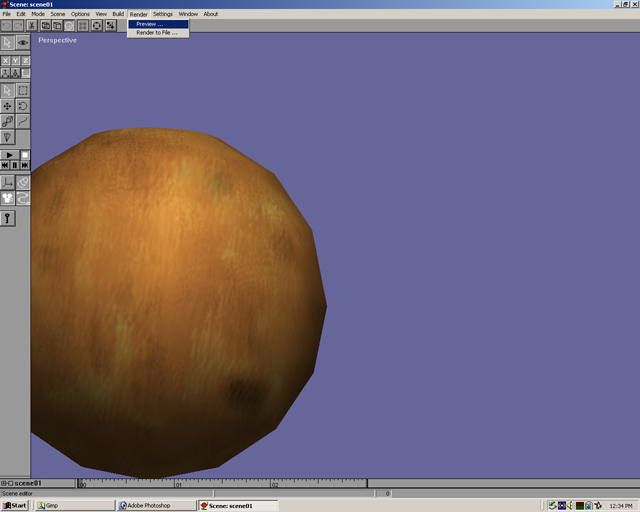
Step 08
The bumpmap may have not been very visible. One way to change this was to change the opacity of the bumpmap as had been done before. The other way is to have a bumpmap with more contrast. Paint an image that has greater contrast. Make it in grayscale, then change it to rgb mode, and save it as a jpg.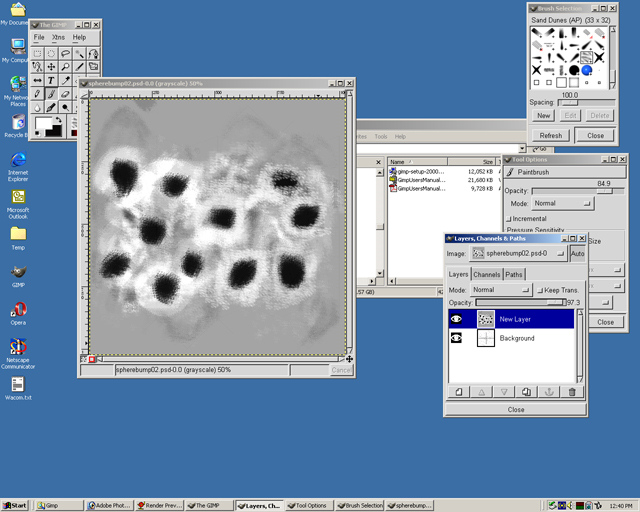
Step 09
Open the anim8or file and use the same material file. Go through the process as before to get to add the bumpmap. Load the new bumpmap image. Select it and press ok.
Step 10
Render the file to see the bumpmap.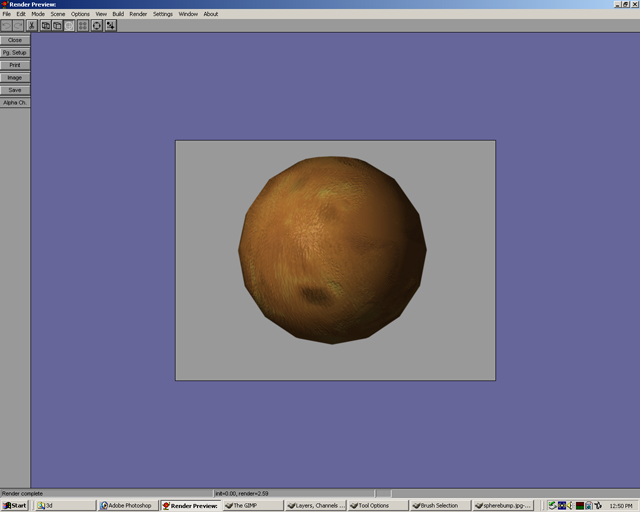
Step 11
Adjust different levels in the Material editor to get a desired look for the model with the texture. Change the values of Ambient, Diffuse, Specular, Emissive, Rough, and Brilliance. Change each, one at a time, then render. This makes it easier to understand how each property changes the texture.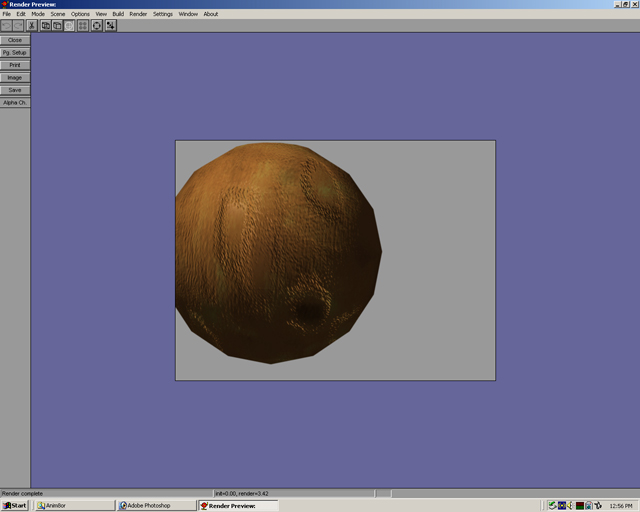
Step 12
Adjust material properties until the desired look is achieved. It may take many renders to figure this out.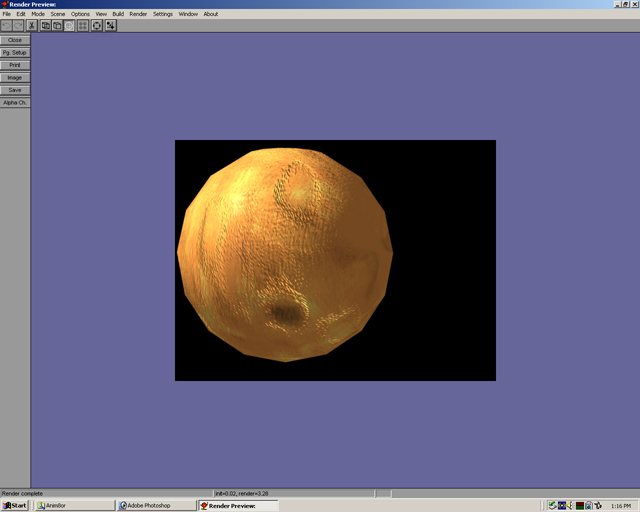
Click to go back - Wrapping Textures
Click to move on - Wings 3d UV Mapping